

Blog and News
Stay up to date with news related to the waste management industry and Bedford Budget Skips.
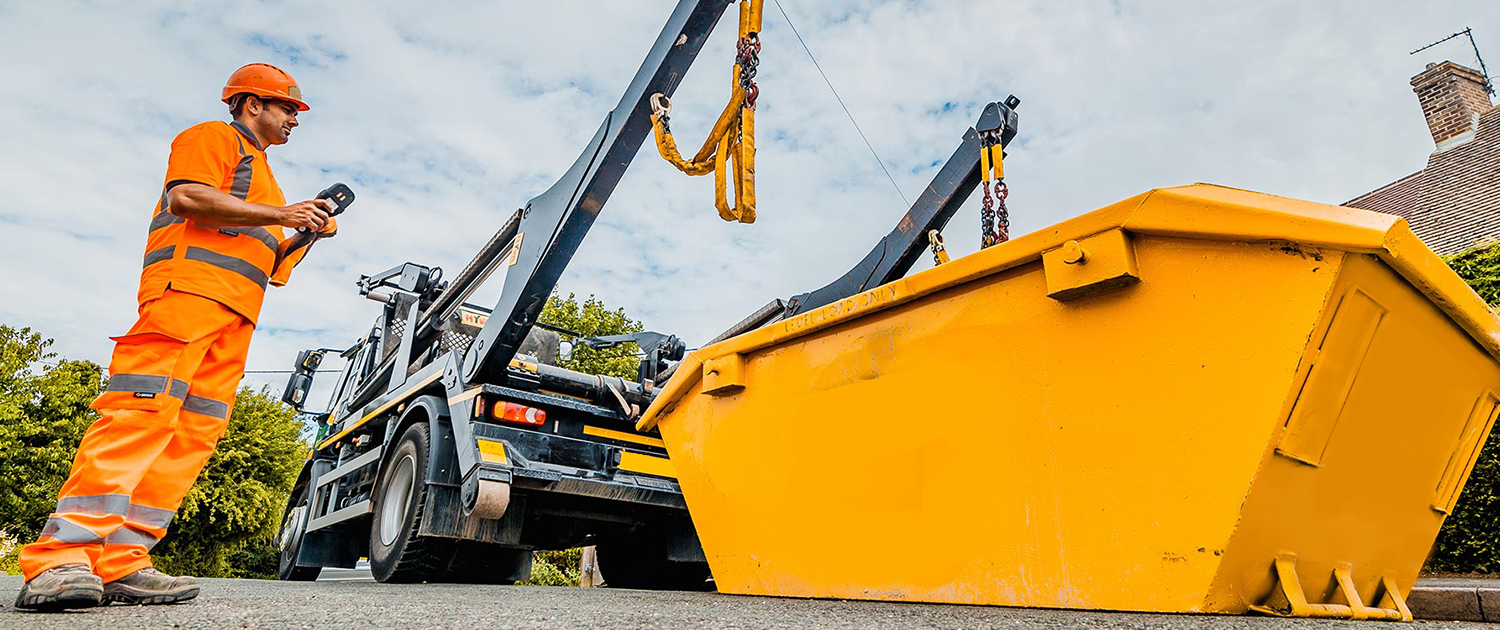
Skip hire is a really easy way of getting rid of your waste. It’s also a great way to ensure you’re disposing of waste in a safe and legal manner, but you might be put off by the need for a skip permit. At Bedford Skips, we want to help you better understand skip permits and licenses, removing the need to worry about this aspect of your skip hire requirements. While it might seem like a hurdle you have to overcome, it’s not as tricky as it first seems; here’s our guide to skip permits.
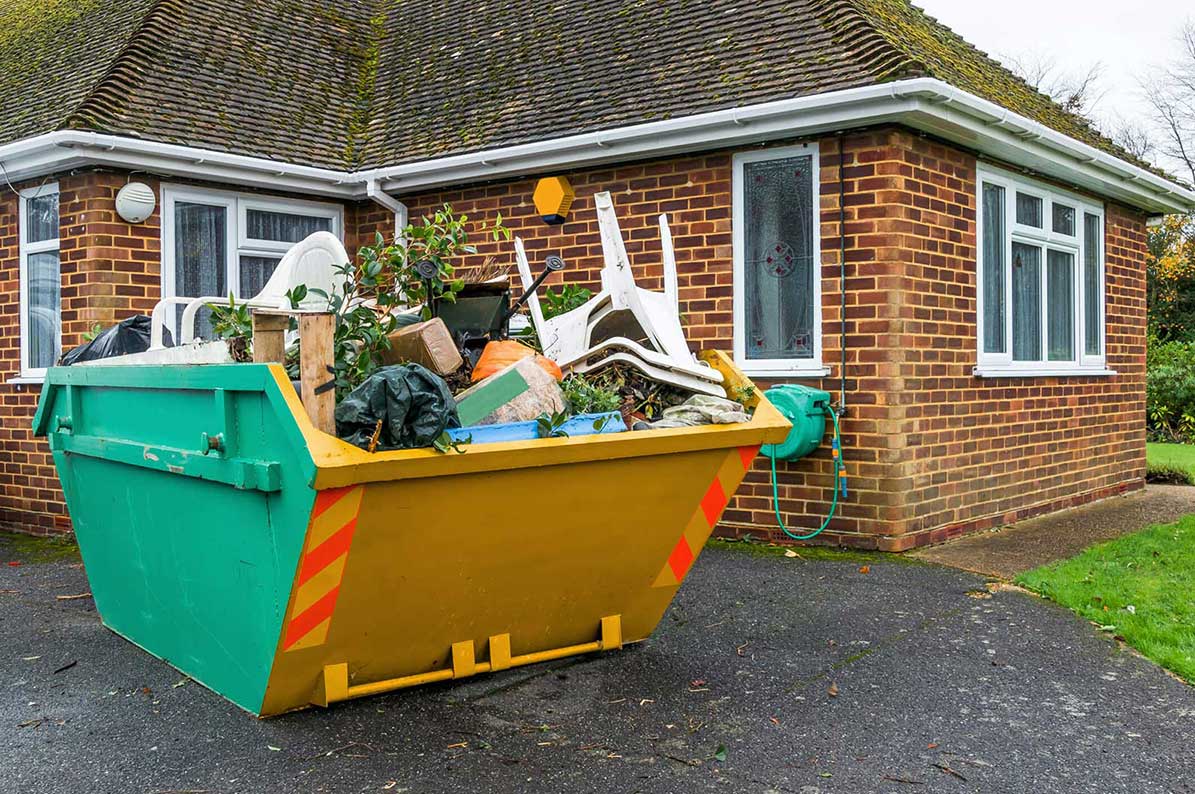
Whether carrying out a spot of home DIY, garden landscaping, office refurbishment or heavier construction, hiring a skip is often the most effective and convenient way to dispose of your waste. Skip hire is a relatively straightforward process, so long as a few simple considerations are made, which is why here at Bedford Skips we’ve drawn up a checklist of common issues and FAQs to help you out…

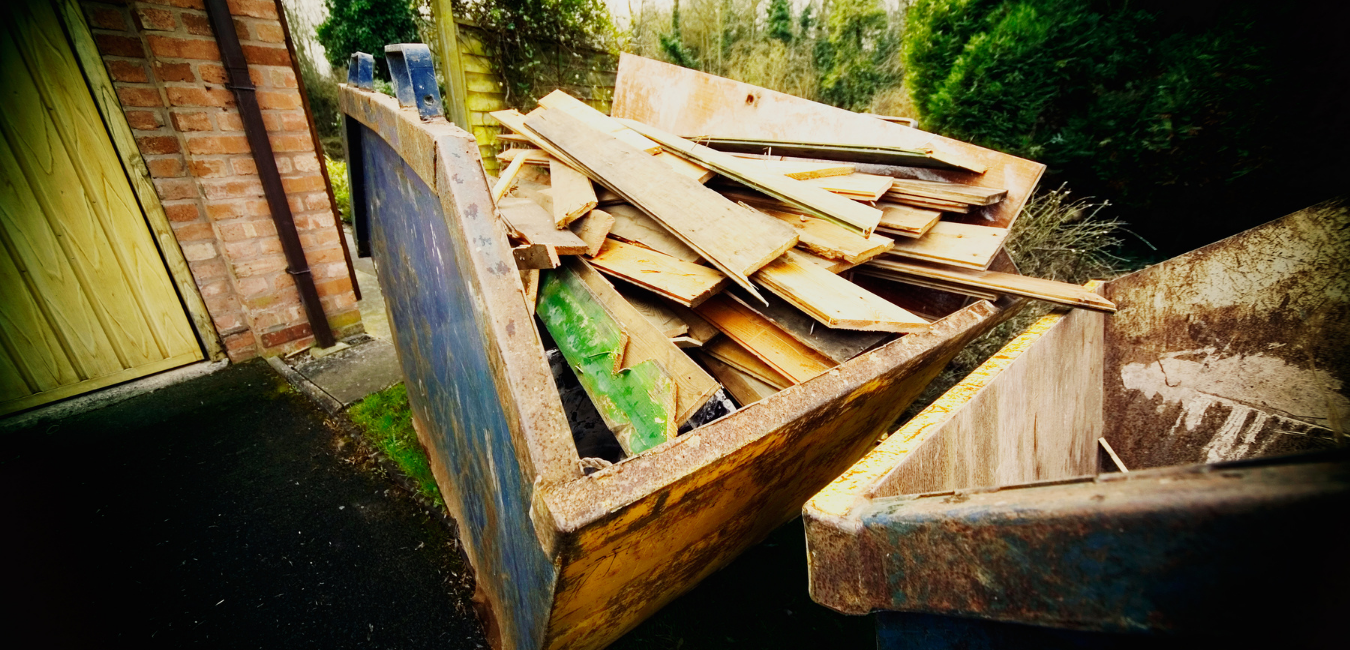
Step One: Organise The key to efficiently filling a skip is to layer. Different types of item will need to go into the skip at different times. Organising your waste into these separate categories will make the job a lot easier when it comes to filling the skip. Items should be sorted into the four categories below. Flat items Tessellate objects (e.g objects that can be stacked together, such as bricks) Large or bulky items Loose debris Ideally, you want to reduce the size of any large items as much as possible. This can be achieved by breaking these items down into their smaller parts where possible. A lot of furniture, for example, can be disassembled into separate bits. Tables will be much easier to handle if they are broken down into a flat surface and four table legs. This will make it easier to place into a skip. Step Two: Flat items Once you’ve dismantled your large items and have organised your remaining items, it’s time to start filling the skip. The first items to place into your skip are the flat items. These are items like cardboard, wood or plasterboard that will fill the base and can be easily squashed down by items on top. Ensure that any boxes are flattened before placing them in the skip. If you have a particularly large amount of these items, you can place them around the sides of the skip in addition to the base. Step Three: Tessellate objects Items such as bricks that will easily fit together should be placed in next. Try to fill the base with these objects; this will create an even surface. If you can’t fill the entire base evenly, use some foresight to leave a space suitable for some of your remaining items.
If you’ve ever hired a skip, you may have noticed the thick lines on the inside. These are fill lines and are used to indicate the maximum fill level of the skip. Overfilling the skip can be dangerous to skip hire staff and the general public, and it will usually land you a hefty fine.
KEEP IN TOUCH
Sign up and stay up to date about what's happening.
